How many devices do you have plugged in right now? Chances are there is at least one phone, tablet or laptop hooked up to an electric outlet.
Today nearly 6% of a household’s annual electricity use is from electronics. The total number of connected devices in the U.S. home has grown to 25 devices on average. And all of those devices need the power to keep working.
The more efficiently you charge your devices the longer they’ll last and the less energy you’ll use. So let’s jump right into the dos and don’ts of charging devices efficiently.
Don’t Charge Devices Overnight
Charging devices overnight isn’t good for the battery or your energy bill. Your battery won’t overload, but overnight charging does waste the battery’s lifespan. Here’s why. Devices are designed to quit charging once they reach 100%. However, in the background things are being used on the device so small amounts of power are being used. The charger will kick back on even if the battery drops to 99%.
As you can see even after the device is fully charged it will keep drawing small amounts of electricity that are completely wasted. It’s something called trickle charging. Never use the fast chargers overnight because this will be an even bigger issue.
Do Short Periodic Charges
Instead of long charges that go from 0 to 100, aim to do smaller charges more periodically. With a compatible charger, you can get a good charge after just 30 minutes to an hour. Doing short charges puts less strain on the battery so that it will last longer.
Don’t Keep Devices in Hot Areas
Heat is known to zap the battery life of electronic devices at a faster pace. Think of electronic devices like human beings. About 78 degrees Fahrenheit is a comfortable temperature that will still conserve energy.
Another thing you’ll want to avoid is covering up your device and/or the charger. The device could still heat up in a mild temperature if it’s under a pillow or buried in a blanket.
Do Use a Solar Charger
You’ll want to keep all of your devices in the shade except your solar chargers. Solar charges give you a way to keep devices powered without adding to the strained electric grid or your energy bill. But the pros do come with a few cons.
Pro:
Doesn’t use electricity.
Available power supply when there’s no outlet.
Cons:
May take longer to charge devices.
Need sun exposure to provide a charge.
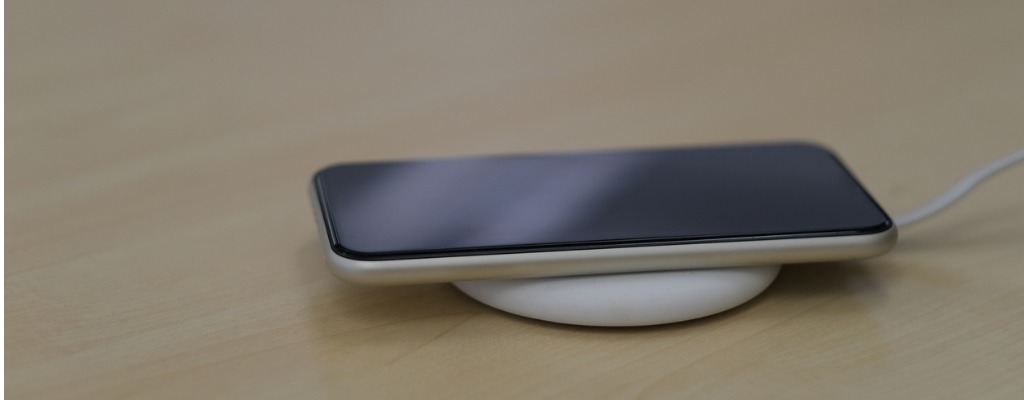
You may also want to avoid wireless chargers of any kind right now. The issue is heating again. Sitting devices on wireless chargers can generate heat that isn’t good for the battery.
Don’t Use High Speed Chargers Often
High-speed chargers are very convenient. Charging devices in less time seems like a huge upside – until you consider the downside. High-speed chargers use more voltage and that generates more heat. And as you now know, heat is never good for batteries in the long run.
Do Quick Charges With High Speed Chargers
If you need to charge up quickly or the only option is a high-speed charger there are ways to avoid overcharging and overheating the device. Only use high-speed chargers for 15-20 minutes max. The goal is to get enough of a charge to make it to another charger with less voltage.
Don’t Wait Until the Battery is Completely Dead
Waiting until you reach 0% battery life isn’t the best time to break out your charger. Today’s lithium-ion battery will actually wear out sooner if you bring them all the way down to zero. The recommendation is to plug the device in before you get a 20% low battery warning. And if the warning pops up it’s definitely time to charge.
Do Charge Devices to 80-90%
Experts recommend not charging a battery up to full power as it strains the battery just like running it down to empty. To extend the life of the battery as long as possible, just charge it up to 80-90%.
Don’t Use Your Device While Charging
The whole reason you’re charging a device is probably that you need to use it. However, you should resist the urge to do so while the device is charging. Doing so could cause mini-cycling that makes the charging process take significantly longer.
Do Use a Smart Plug
Smart plugs are the latest craze in home automation and energy efficiency. You can use them to avoid overheating the battery with overcharging. Just plug the device in and then set the smart plug to supply power for a little amount of time.
Charging devices more efficiently is something you’ll have to do on your own but at least you can count on Provider Power to deliver reliable energy when you need it. You can compare available energy plans and find the one that works for you while you wait for your devices to charge!